
How to migrate to Google Analytics 4
How to migrate to Google Analytics 4 has become necessary since the introduction of this valuable tool by Google. In the past, Google Analytics Universal was used as an analytical tool for Google websites. But, this tool had various shortcomings. For this reason, Google decided to provide a newer and more complete version of Google Analytics. Different methods exist for installing Google Analytics 4 on the website, each with its steps. In this article, we want to discuss migrating to Google Analytics 4 on the website.
What is Google Analytics 4?
Google Analytics 4 is an analytical tool that allows access to information about traffic websites, visits, users, users, etc. Web admins and digital marketing owners use the analysis of this data to drive the way forward for further planning. In fact, through this data, the website manager can analyze the user’s performance on his website and identify the weak points of his website.
Migrating to Google Analytics 4 provides many possibilities for website owners. By using these features, you can improve the website’s usability and get your business reviewed. Analytics 4 can inform the website owner about the time the user is present, the speed of loading the website’s pages, and the website’s conversion rate.

How to migrate from Google Analytics Universal to Google Analytics 4
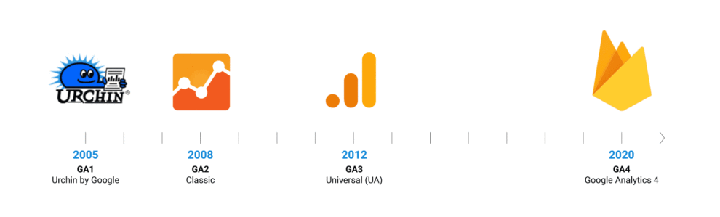
Migration to Google Analytics 4 is done from the previous version of this tool or platform, Universal Analytics. Universal Analytics had many shortcomings compared to Analytics 4. For this reason, Google decided to present a new version of this tool. But, the new version, Analytics version 4, is an entirely new platform because many different facilities and agencies have been added.
The migration methods to Google Analytics, 4 from Universal, are different. Installing Analytics 4 using tag manager methods, WordPress header.php files, and WordPress plugins is possible. These three methods are among the most common for installing Analytics 4 on the website.
Step-by-step steps to migrate to GA4
In this article, you can pay Google Analytics 4 for the installation steps of this platform through the Google Tag Manager account. This method is one of the best ways to install Analytics 4 for the website. This method applies to both WordPress websites and dedicated websites.
- First, register your information in Tag Manager by entering the link: https://tagmanager.google.com/?hl=en#/admin/accounts/create.
- On the opened page, choose a name for your account and select your country. In the Container Setup field, enter your website address, select the Web option, and click on the Create option.
- To migrate to Google Analytics 4, he has read and announced the rules. After verification, you will be shown the codes you should put on your website.
- At this stage, copying the Head and body price codes is necessary. Then select the Submit option and publish the Container. On the next page, enter your website address again. After going through these steps, the Google Tag Manager account will be created.
- Enter the Google Tag Manager account panel and create a tag for analytics in the tags section. In the song type section, select the screen display option.
- Enter the Google Analytics section and enter the Google Analytics tracking ID.
- Select the trigger type in the Trigger field, All Pages or All Pages. Then save the relevant changes to migrate to Google Analytics 4.

Installing Google Analytics 4 on the website through the WordPress file
Migrating to Google Analytics 4 through the WordPress file is one of the easiest ways to install this platform. But in this section, we can install this widely used tool through the WordPress plugin. The reason for training to install Analytics 4 through the WordPress plugin is the existence of many WordPress websites in Google. Most digital marketing and businesses are part of WordPress websites. Therefore, installing Google Analytics 4 on this website is very important.
- Log in to your WordPress website to migrate to Google Analytics 4. In the left menu, select Options and click Add New.
- Among the provided plugins, find the Google Analytics option. In this case, plugins are available; MonsterInsights and Yoast are more popular.
- Select the Install Now option after choosing the plugin you want. After installation, click on the Activate option.
- For each plugin to migrate to Google Analytics 4, You must connect it to your Google Analytics account. To do this, enter a list of content and data on your website in Analytics 4.
- Finally, save the done.
Install the new Google Analytics GA4.
The first step to migrating to Google Analytics 4 is to make a backup. Because it is impossible to recover the data of the universal version after installing the Analytics 4 version, we can discuss migrating to Google Analytics 4 using the WordPress header.php file in this section.
- To migrate to Google Analytics 4 and install it on the website, log in to your WordPress account and select the Appearance option.
- Select the editor option and find the header.php file on the right side.
- After finding the file, copy the tracking code provided by Google Analytics before the file header.
- To save these changes, click on the Update File option.
- Then, check your account to make sure Google Analytics 4 is correct. If it is received correctly, the installation process has been completed correctly.


Lasted Comments (0)